As hinted in my previous article about Selenium in CI, recording a video of the test suite has been part of my most recent project. Some hosted Selenium services, like AWS DeviceFarm or SauceLabs provide videos of your test runs, but those services can be expensive or forbidden based on your organization’s policies.
We can have videos just like the paid services, as long as we can install FFmpeg on our build machine.
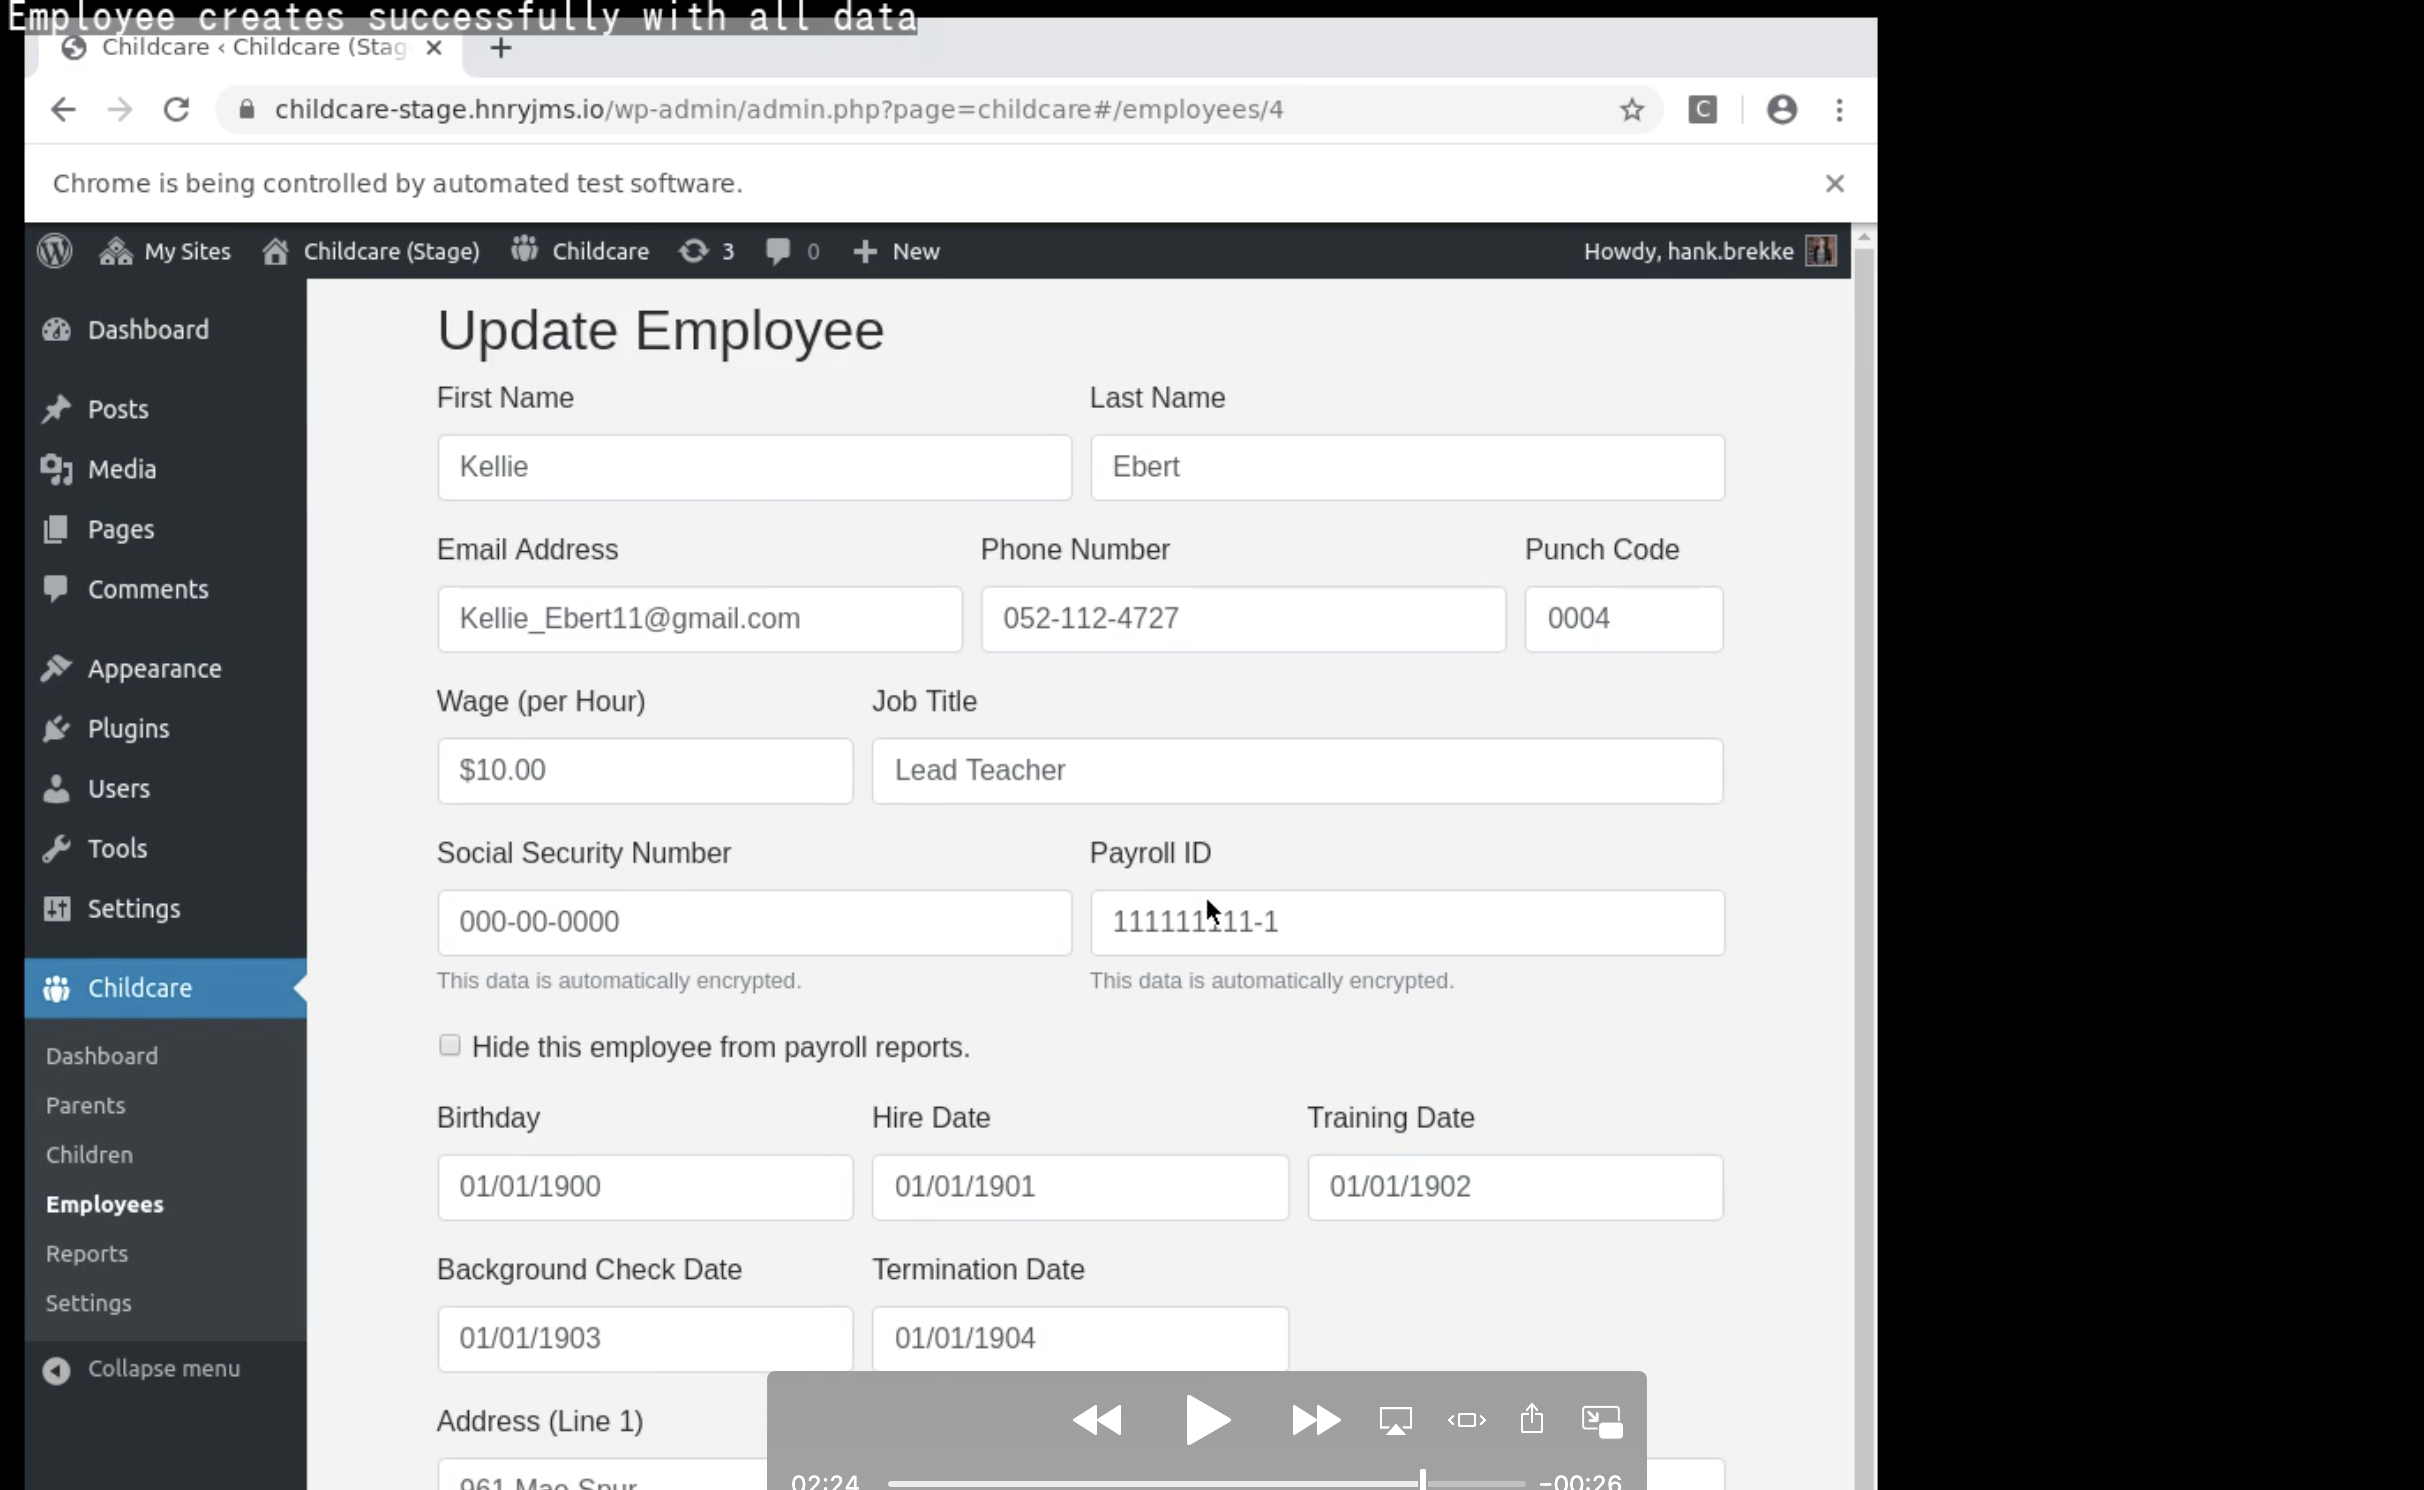
Do you notice the test name in the top left corner?
Recording the screen of the build machine seems pretty straight forward. Start the capture before the suite runs, and stop it when it ends. Which is fine. Until a test in the middle of your suite starts to fail. You’ve got the recording, but no idea how many seconds into the recording is going to show you the failure. And there are only a few frames of video before the test suite moves on. To mitigate this, we are going to add the current test name to the top corner of the video.
Here’s what it looks like:
rm /home/seluser/recording.mp4
echo > /home/seluser/cmds
tail -f /home/seluser/cmds | ffmpeg \
    -video_size 1360x1020 \
    -framerate 15 \
    -f x11grab -i :0.0 \
    -vf "drawtext=fontfile=/usr/share/fonts/opentype/ipafont-gothic/ipag.ttf \
        :text=Loading \
        :fontcolor=white \
        :fontsize=24 \
        :box=1 \
        :boxcolor=black@0.5 \
        :x=0 \
        :y=0, \
        format=yuv420p" \
    /home/seluser/recording.mp4 &
export FFMPEG_PID=$!
Note: The x11grab -i :0.0 chunk will change based on your OS. You can read all about the capture tool for your
OS on the FFmpeg Capture/Desktop guide. Some formats don’t require an explicit
-video_size parameter to capture the full screen.
We use tail -f to feed text to STDIN of FFmpeg so that we can execute commands as if the interactive terminal window
is open. It’s hacky, but it works. In our test suite, using a Before() hook that runs when an individual test starts,
we just need to append text to our tail‘d file:
echo "cdrawtext -1 reinit text='${test-description}'" >> /home/seluser/cmds
Note: You’ll likely want to use the native Fs.appendFile() operation of your runtime language (NodeJS in my
example), rather than creating a subshell.
When our test suite is complete, we’ll need to terminate the FFmpeg program gracefully, so that it doesn’t leave us with
a corrupt video recording. We can do that by sending the q key to the tool’s STDIN, and wait for it’s PID to complete.
echo q >> /home/seluser/cmds
wait $FFMPEG_PID
Now just store our video (in my case available at /home/seluser/recording.mp4) as a build artifact, and we’re done!
How it Works
If you’re confused about what’s going on, read on for a guide about what each piece of the commands above is doing. Let’s take a closer look at what’s going on:
rm /home/seluser/recording.mp4- We need to make sure a previous run’s video is removed, otherwise FFmpeg will hang, waiting for you to answer whether you want to overwrite the file.echo > /home/seluser/cmds- reset the file to empty (in case it already exists). Otherwise, as soon as FFmpeg starts, it’ll process the last few commands of the previous run (viatail -f).ffmpeg (...)- start interactive mode of FFmpeg, but feedingtail -fas the input.-video_size 1360x1020- Thex11grabtool isn’t able to determine the screen size automatically. For my machine (docker-selenium), the computer is running with a1360x1020screen size.-framerate 15- The frequency a screenshot should be captured. This will reduce large file sizes, but make videos more choppy if too low.-f x11grab -i :0.0- For a linux machine,x11is the desktop rendering engine, andx11grabis the tool that captures thex11screen. Our main screen is identified as:0, but some computers may use:99or a different number.-vf (...)drawtext=(...)- Adds text to the top corner of the screen. This is the command that we send commands to as the recording is in-flight.fontfile=/usr/share/fonts/opentype/ipafont-gothic/ipag.ttf- A path to a TTF file that the text will render. Make sure you update this path based on your OS.text=Loading- Start the recording with “Loading” as the text.fontcolor=white- Render the text in white (we’ll add a background too).fontsize=24- Render the text at 24 pixels in size.box=1- Add a background box behind the text, so we can see it if there’s white on the underlying video.boxcolor=black@0.5- Render the background box in black, with 50% transparency.x=0- Position the box to the left.y=0,- Position the box to the top.
format=yuv420p- Uses a colorspace that QuickTime Player and Windows Media Player can open.
/home/seluser/recording.mp4- The path to our output file.&- Runs the command in the background.
export FFMPEG_PID=$!- Save the PID of the background command, so we can use it later.
The interactive mode of FFmpeg watches for the c keypress, and renders a special view for inputting the command to
send. That’s why there’s no space between c and drawtext.
echo (...)- Repeat the text.c- Enter the command submission view in interactive mode.drawtext- The video_filter (-vf) where we are sending a command.-1- Apply the command with no delay.reinit- Merge the next argument into the init arguments.text='${test-description}'- This is where we’ll specify the text, as the test name coming from our test runner.>> /home/seluser/cmds- Append to the file (rather than replace it, single>).
Finally, we wrap up our recording when the test is done executing.
echo q >> /home/seluser/cmds- Tell interactive mode of FFmpeg to gracefully shut down.wait $FFMPEG_PID- Watch the background process and pause until it’s complete.
Note: you can onlywaita PID that was launched from the same/bin/bashprogram. If your CI creates a new shell for each command, you’ll need to do something like this instead.
Next Steps
There are a few ways you can improve the ideas I’ve explained in this guide to make the process more reliable, readable and less hacky all around.
Try one of these:
- Install FFmpeg with
--enable-libzmqand use ZeroMQ in your native test language to execute the command. This would be a big improvement overtail -fand appending commands to STDIN of FFmpeg. - Integrate this update into my other guide, Running Selenium Test Suite in AWS CodeBuild to use a cloud-based CI platform in Amazon Web Services.
Stay tuned for a future guide, where we tie our build (npm), deploy (terraform) and test (Selenium) jobs together
in an AWS CodePipeline to move code changes to production automatically.
If you have any questions about this article, please leave your feedback by reaching out to me on Twitter—@hnryjms, or give me a follow if you want to read more 💬